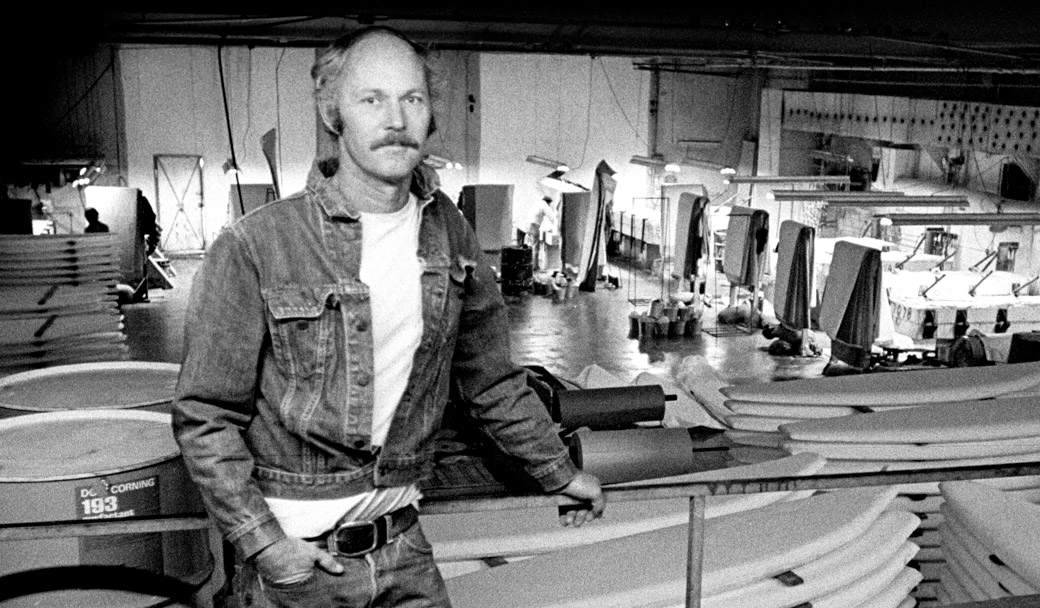
“Grubby” Clark. Clark Foam 1970’s – Surfer Mag photo.
A key turning point in surfing history was the invention and commercial introduction of the foam/fiberglass surfboard, replacing the earlier boards, which were made of wood. Foam/fiberglass surfboards were much lighter and more maneuverable than wooden boards and were a key factor that increased surfing’s popularity.
But who invented the foam surfboard? Many would point to Hobie Alter and Gordon “Grubby” Clark, who worked together in Laguna Beach in 1957-58 to perfect the process of “blowing” polyurethane foam blanks, a trial-and-error process that involved many different mixtures of nasty chemicals, mixing processes, and different types and shapes of molds before they were able to go to full scale production in mid-1958. Meanwhile, up in Santa Monica, Dave Sweet was engaged in the same process of trying to perfect polyurethane foam surfboard blanks. In fact, there is quite a bit of evidence that Dave Sweet beat Hobie and Grubby to the market by as much as a year.

Hobie Alter, early days.
Prior to all that, Bob Simmons did some experimenting with foam and in 1950 created a “sandwich” type board with a polystyrene core, sealed from the resin with wood veneer and balsa wood. The reason for this somewhat complicated construction was the fact that styrene monomer in polyester resin dissolves polystyrene foam (the only foam available at the time). So, Simmons’ early efforts did not catch on with others (Velzy, Hobie, Kivlin) who were making surfboards at the time, and most surfboards made in the 1950s were constructed of balsa wood and fiberglass.
But, unknown to many surf historians, an intrepid group of San Diego-area lifeguards and surfers developed and built their own foam surfboards in 1950 and 1951. Following are historic recollections from those individuals in an account written for the California Surf Museum in 1993.

Don Okey, after winning the Oceanside Pier Paddle Race in 1938.
HISTORIC RECOLLECTIONS ABOUT FOAM SURFBOARDS
By John Blankenship, Bill McKusick, Don Okey and Bud Caldwell – Written for the California Surf Museum in 1993
“While working the night shift at the Life Guard station, two young Mission Beach Life Guards, John Blankenship (age 24) and Bill McKusick (age 20) built the first all polystyrene foam, fiberglass and resin surfboards with a white glue sealer next to the foam. This was in the fall of 1950. The reason for the sealer was that the styrene monomer in the resin would dissolve the polystyrene foam. They kept getting pinholes in the sealer that left cavities under the fiberglass, but the boards were still rideable. With a weight of less than ten pounds, they created quite a sensation at Wind’n Sea. They were aware that Bob Simmons had created a sandwich type board with a polystyrene core earlier that year. His foam core was sealed from the resin with wood veneer and balsa wood. [Note: An example of such a board is on exhibit at the California Surf Museum.] They went on to experiment with better ways to seal the foam.
In the summer of 1950, Don Okey (age 28), moved back to Wind’n Sea and built himself an eleven foot all balsa board with rocker on the deck. The board was chambered with 2” dia. holes on the inside to make it lighter and covered with one layer of cloth and resin. He became very enthused when he saw Blankenship’s new all foam board and proceeded to order two foam logs from the Dow Chemical company in Michigan. The logs arrived in early 1951 and were about 30” x 30” x 9’ long. Okey rigged a hot wire to slab the logs into surfboard stock. The first board he made [was] a copy of his eleven-foot balsa. It had a 1/4” plywood stringer in the center. After the board was shaped, it was covered with a layer of muslin cloth saturated with white polyvinyl glue to act as a sealer. Fiberglass cloth and a green opaque resin were then applied to finish the board. This board was surfed at Wind’n Sea during 1951. In the spring of 1951 he filled a commercial order for eight foam surfboards. Two went to Frank Lyons and six to Ed Cudahy. Ed Cudahy shipped his boards to San Onofre. These boards were made like his first board except they were 9’ to 10’6” long. Opaque resin was used on all of these boards.
John Blankenship and Bud Caldwell with Tom Blake trophy, San Onofre, early 1990s.
By the middle of 1951 many people in the San Diego area were experimenting with various ways to make polystyrene foam boards. Newspapers and Weldwood glue were also tried as a sealer. The flaw in these boards was the inevitable separation between the foam and the covering.
In the summer of 1951 Okey had heard of the use of epoxy resin in the aircraft industry. He obtained experimental resins from the Shell Oil Company and several catalysts and monomers from other manufacturers. With these he formulated an epoxy resin and proceeded to make the first polystyrene foam surfboard covered with epoxy resin and fiberglass. The board was pigmented a translucent blue and after some use at Wind’n Sea was sold to Douglas McKeller, the grandson of F.W. Kellog, the owner of the La Jolla Beach & Tennis Club.

Don Okey, L, and John Blankenship surfing Windansea, early 1940s.
One who observed the board at the beach was Bud Caldwell (age 26) who worked for Kettenburg Boat Works at Point Loma. Bud became very interested in the epoxy foam board. He ordered log foam from Dow and rigged a hot wire for cutting the logs. Bud soon experimented with ways to make foam boards. Later he acquired some epoxy resin and made several foam and epoxy boards. One epoxy board that he made for his son is still stored under his house.”
In July 1953 an article “Fun on a Plastic Surfboard” by Bill Reid appeared in the magazine Popular Mechanics (Volume 100 Number 1, July 1953, pages 157-159). The article essentially describes the process used by Don Okey in 1951 to make his boards. The photos from the article show Fred Kenyon constructing a surfboard using polystyrene foam, a protective layer of muslin and “foam-plastic sealer” and then fiberglass and resin. The board had a 1/4” plywood stringer, a hardwood (oak) skeg and extra fiberglass “just aft of midships” for a kneeling pad.
Bill Reid : Fun on a Plastic [Stryofoam] Surfboard, 1953
Bill Reid: Fun on a Plastic Surfboard – Popular Mechanics Magazine – Volume 100 Number 1, July 1953, pages 157 – 159.
Introduction.
Plans and directions for contructing a styrofoam surfboard , by regular Popular Mechanics writer, Bill Reid.
An adaptation of Bob Simmons’ Plywood Laminated Spoon, circa 1949, the blank is covered with muslin cloth between two coats of a plastic sealer before fibreglassing with standard resin.
This was to prevent the resin reacting and damaging the styrofoam.
This method was employed by New Zealand surfboard builders in the 1950s-early 1960s, as balsawood and polystrene blanks were difficult to obtain due to import restrictions.

Stryofoam, or Coolite, in combination with expoxy resin was used for a short time in Australia by McDonagh Surfboards in the late 1950s.
See: 1958 Ross Renwick : Build a Plastic Foam Surfboard. Australian Outdoors, November, 1958, pages 11 and 58.
The styrofoam-epoxy combination may have also been used by some American manufacturers.
This method became an accepted manufacturing method beginning around the mid-1990s, following years of intensive and expensive development by sailboard manufacturers, now comonly called epoxy boards
The board is 9 ft 6 inches x 25 inches with four strips of styrofoam laminated with a plywood stringer (“keelson”), pre-shaped to set the bottom rocker. It is recommended that the blank is shaped with a “vegetable grater” and the resin applied with a brush.
Page 157
Fun on A Plastic Surfboard
Bill Reid
HITCHING A RIDE on a beach-bound ocean wave with a featherlight surfboard is rated tops in water sports by practiced surfboarders.
To handle well in the rolling waves the board must be stable, buoyant and light.
Only a light board that rides high will take the full surge of an ocean roller.and remain steady while you’re in the long slide down the frontal slope just ahead of the crest.
That’s why the new foam plastic found a ready acceptance among surfers who make their own boards.
The material is easily shaped and takes glue like wood.
To make a board of this material, you’ll need about 80 bd. ft. of foam plastic in 9-ft. lengths and also a length of 1/4-in. plywood, 9 ft. long and about 4 1/4 in. wide.
The latter is glued in at the center of the board to form a stiffener, or “keelson.”
The thickness of the board is 4 in. at a point just back of midships.
The foam-plastic boards” are glued up just like wood, using a waterproof glue and clamping with bar clamps.
Before drawing up
[1] Foam-plastic “boards” are glued together just like wood to form the body of the surfboard.
A center stiffener, or “keelson,” of 1/4-in. plywood gives extra strength and rigidity.
Board is sawed to shape when glue is dry.

Page 158
[2] Cut curved edges of board with a keyhole saw.
At this stage handle board carefully to avoid chipping edges.
Square forward end before gluing headpiece.
[3] Vegetable grater is used to round edges of board to contour.
Grater does the trick faster as foam plastic does not abrade easily.
Note in detail that bottom is nearly flat.


[4] After applying sealer, spread muslin and impregnate with sealer. Apply to one side only and allow to dry before applying sealer and fabric to opposite side of the clamps, place softwood strips under the jaws of each clamp to prevent the narrow jaws from crushing the plastic at the edges. Note in Fig. 1 how the boards are clamped.
After the glue is dry – and be sure it is thoroughly dry- square the torward ends and glue on short lengths of plastic to bring the length to 9 1/2 ft.
Then cut the board to the rough shape shown in Fig. 2.
Finish to contour as in Fig. 3, using a vegetable grater rather than sandpaper.
The former does the trick faster and more smoothly as foam plastic does not abrade well.
Note the sectional contour as in the detajl on page 159.
The topside, or deck, is rounded at the edges but the bottom is left flat for stability. When rounding, be sure that the contours are uniform on both sides.
A simple cardboard template will help in checking for uniformity of ihe curves.
Next, apply a foam-plastic sealer to one side of the board and, while still wet, dampen the muslin and smooth it over the sealer as in Fig. 4.
Be sure that the fabric is in full contact over the surface then apply a second coat of sealer, brushing it well into the cloth.
Allow one side to dry before applying sealer and fabric to the other side.
When dry (allow at least 8 hr.) turn the board over and apply sealer and cloth in the same manner.
The fabric should overlap at the edges about 1 1/2 in. Give the laps an extra coating of sealer.
After both sides are thoroughly dry, sand the surface lightly.
The final covering of glass cloth gives the board strength and rigidity.
You’ll need about 3 1/2 yd. of glass cloth and 1 gal. of laminating resin.
You also will need a catalyst and hardener especially made for use with this product. Before using, be sure to follow the instructions for mixing the materials.
Now cut glass cloth to size and layover one side of the board, preferably on the side opposite that on which the first piece of muslin was placed. Coat immediately with the resin “dope,” being
Page 159
[5] After sealing, board is finished with a “skin” composed of glass cloth impregnated with a laminating resin. After mixing in accordance with instructions, this “dope” is applied over the glass cloth with a brush. Remove all wrinkles and blisters.
[6] Hardwood skeg is attached with a glass-cloth fillet built up on each side. Fillets consist of several strips laid In resin in each corner where the skeg joins the board. Finally, the wood is covered with a single thickness as in the right-hand photo.
[7] Careful to spread the liquid in a uniform film, Fig. 5. Smooth out any bubbles or wrinkles may appear. When one side is finished, allow to dry before covering the opposite side.


When cutting the piece for the opposite side, be sure that you cut it wide enough to allow a 1 1/2in. overlap at both edges.
Apply in the same manner as the first.
Figs. 6 and 7 show how to attach the skeg, which is cut from 1/2 or 3/8-in. oak to approximately , the shape shown in the detail below.
It is about 8 in. wide and 12 in. long.
Round the curved edge, then center the skeg on the stiffener.

Some trimming may be necessary to assure a true fit.
Brush the edge of the skeg, and also the area where it is to be placed, with the resin coating.
Locate the skeg and then build up a rounded fillet on each side with strips of glass cloth laid in resin dope.
Follow by covering the skeg with one thickness of glass cloth, trimming and overlapping the edges as in Fig. 7.
As the final step in the construction, make a kneeling pad just aft of midships by laying two or more thicknesses of glass cloth in resin.
Apply a final coat of resin to the entire board. Allow coating to dry thoroughly before using board.